No tracking number?
.jpg)
PAUT And TOFD Pipe to Pipe Weld Joint Flawed Specimen 10" Dia Phased Array Ultrasonic Testing (PAUT)-Weld Joint Flawed Specimen 10" Dia- Time-of-flight diffraction ultrasonics Geometry: Pipe to Pipe Butt Weld Joint with Pipe 10" Dia. And 200 mm Wide on Either Side of The Weld thickness range >20mm to 30mm (Carbon Steel) Material: Carbon Steel Flaws: 3 per specimen, randomly placed Specimen Tolerance: +/- 0.080" Documentation: NDT Verification Reports,C of C, CAD Drawings and Test Sheets. (Customized Calibration Test Block and Flaw Specimen also available. Contact- support@ndetech.org.in)
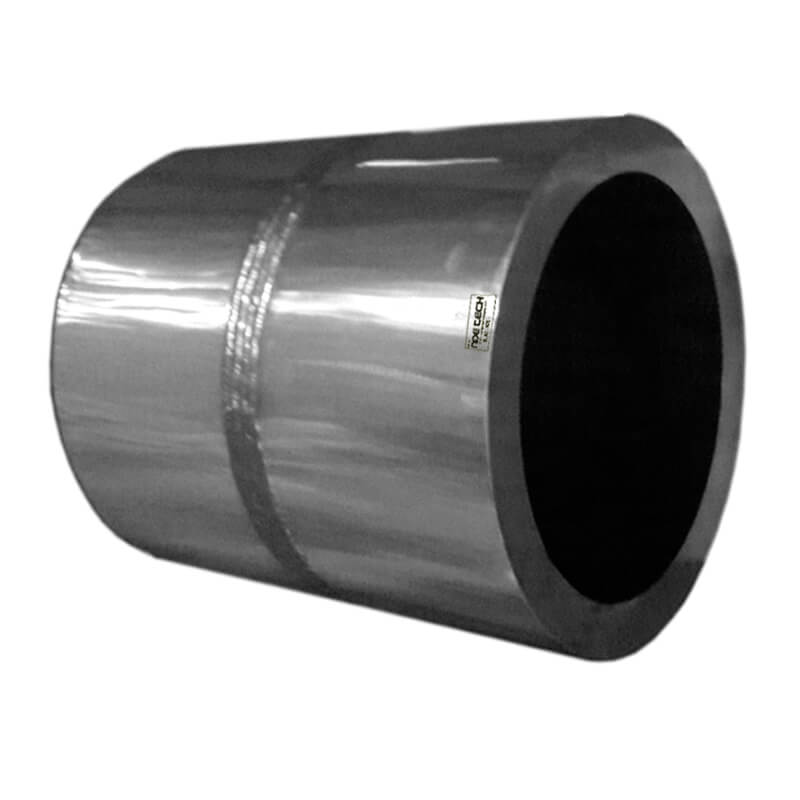
PAUT And TOFD Pipe to Pipe Weld Joint Flawed Specimen 16" Dia Time-of-flight diffraction ultrasonic (TOFD)-Weld Joint Flawed Specimen 16" Dia- Phased Array Ultrasonic Testing (PAUT) Geometry: PAUT And TOFD Pipe Butt Weld Joint 16" Dia Flawed Specimens Pipe to Pipe Butt Weld Joint with Pipe 16" Dia And 250 mm Wide on Either Side of The Weld thickness range >30mm to 50mm (Carbon Steel) Material: Carbon Steel Flaws: 3 per specimen, randomly placed Specimen Tolerance: +/- 0.080" Documentation: NDT Verification Reports,C of C, CAD Drawings and Test Sheets. (Customized Calibration Test Block and Flaw Specimen also available. Contact- support@ndetech.org.in)
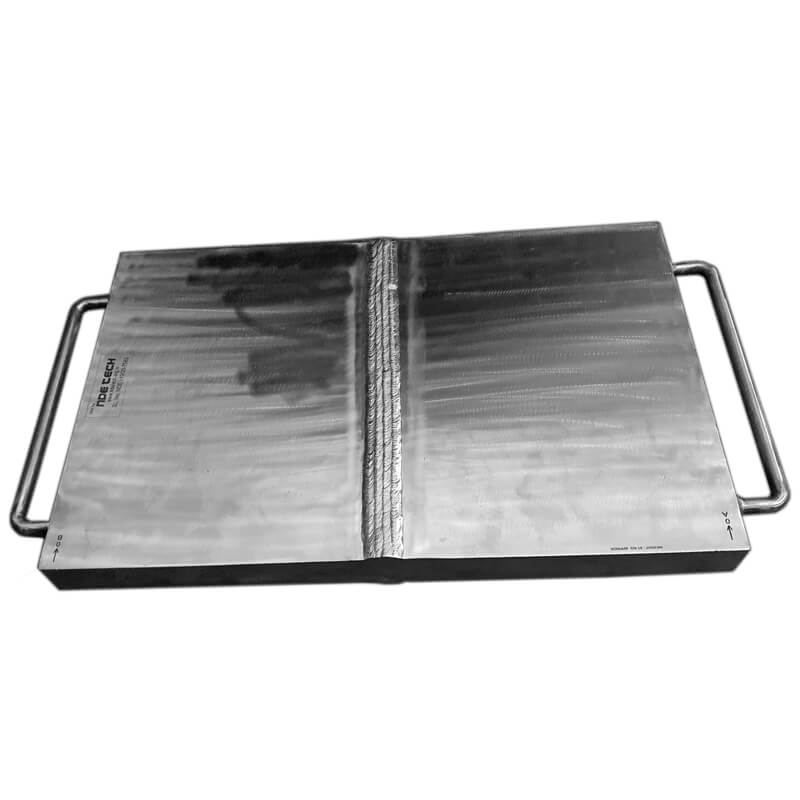
PAUT And TOFD Plate TO Plate Weld Flawed Specimen Double V ASYMMETRICAL 1/3+2/3 THK Time-of-flight diffraction ultrasonic (TOFD)-PLATE Weld Joint Flawed Specimen-Phased Array Ultrasonic Testing (PAUT) Geometry: Plate to Plate Double V Butt Weld 400 mm Long and 200 mm Wide on Either Side of The Weld thickness range >20 mm to 30 mm (Carbon Steel) ASYMMETRICAL 1/3+2/3 thickness. Material: Carbon Steel Flaws: 3 per specimen, randomly placed Specimen Tolerance: +/- 0.080" Documentation: NDT Verification Reports,C of C, CAD Drawings and Test Sheets. (Customized Calibration Test Block and Flaw Specimen also available. Contact- support@ndetech.org.in)
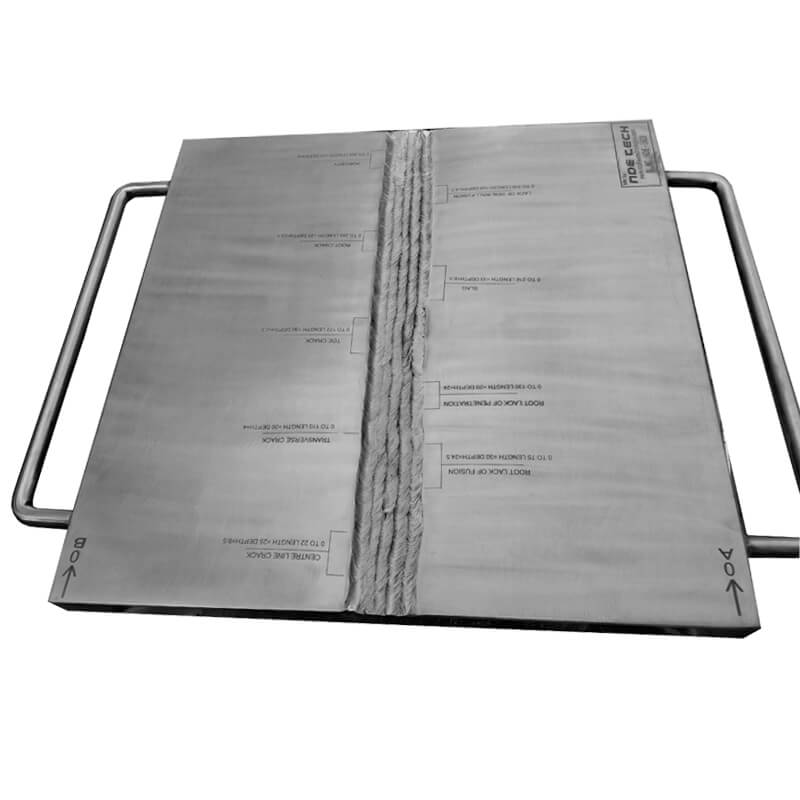
PAUT And TOFD Plate to Plate Single V Flawed Specimens ASYMMETRICAL 1/3+2/3 THK Phased Array Ultrasonic Testing (PAUT)- Plate to Plate Single V Flawed Specimens-Time-of-flight diffraction ultrasonic Geometry: Plate to Plate Double V Butt Weld 500 mm Long and 250 mm Wide on Either Side of The Weld thickness range >30 mm to 50 mm (Carbon Steel) ASYMMETRICAL1/3+2/3 thickness. Material: Carbon Steel. Flaws: 3 per specimen, randomly placed Specimen Tolerance: +/- 0.080" Documentation: NDT Verification Reports,C of C, CAD Drawings and Test Sheets. (Customized Calibration Test Block and Flaw Specimen also available. Contact- support@ndetech.org.in)
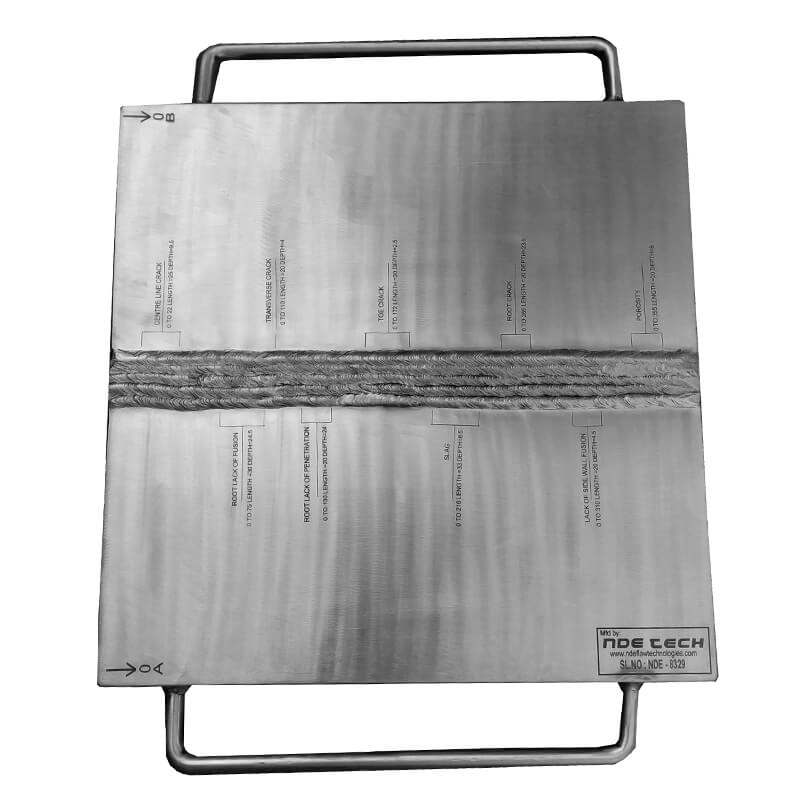
Phased Array Ultrasonic Testing And TOFD Plate to Plate Double V Flawed Specimen Phased Array Ultrasonic Testing And Time-of-flight diffraction ultrasonic Plate to Plate Double V Flawed Specimen Geometry: Plate to Plate Double V Butt Weld 500 mm Long and 250 mm Wide on Either Side of The Weld thickness range >30 mm to 50 mm (Carbon Steel) Material: Carbon Steel. Flaws: 3 per specimen, randomly placed Specimen Tolerance: +/- 0.080" Documentation: NDT Verification Reports,C of C, CAD Drawings and Test Sheets. (Customized Calibration Test Block and Flaw Specimen also available. Contact- support@ndetech.org.in)

Phased Array Ultrasonic Testing And TOFD Plate to Plate Single V Flawed Specimen Phased Array Ultrasonic Testing And Time-of-flight diffraction ultrasonic Plate to Plate Single V Flawed Specimen Geometry: Plate to Plate Single V Butt Weld 500 mm Long and 250 mm Wide on Either Side of The Weld and Plate thickness Range >30 mm to 50 mm (Carbon Steel) Material: Carbon Steel. Flaws: 3 per specimen, randomly placed Specimen Tolerance: +/- 0.080" Documentation: NDT Verification Reports,C of C, CAD Drawings and Test Sheets. (Customized Calibration Test Block and Flaw Specimen also available. Contact- support@ndetech.org.in)
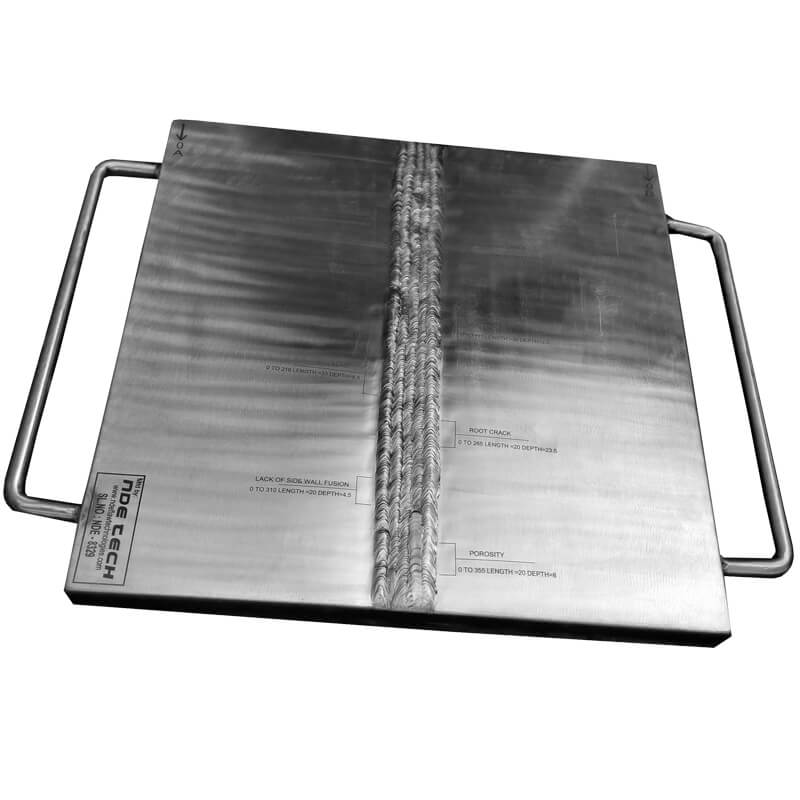
Phased array And TOFD Plate Single V Weld Flaw Specimen Phased Array Ultrasonic Testing And Time-of-flight diffraction Plate to Plate Single V Weld Flawed Specimen Geometry: Plate to Plate Single V Butt Weld 400 mm Long and 200 mm Wide on Either Side of The Weld thickness Range>20mm to 30mm (Carbon Steel) Material: Carbon Steel. Flaws: 3 per specimen, randomly placed Specimen Tolerance: +/- 0.080" Documentation: NDT Verification Reports,C of C, CAD Drawings and Test Sheets. (Customized Calibration Test Block and Flaw Specimen also available. Contact- support@ndetech.org.in)
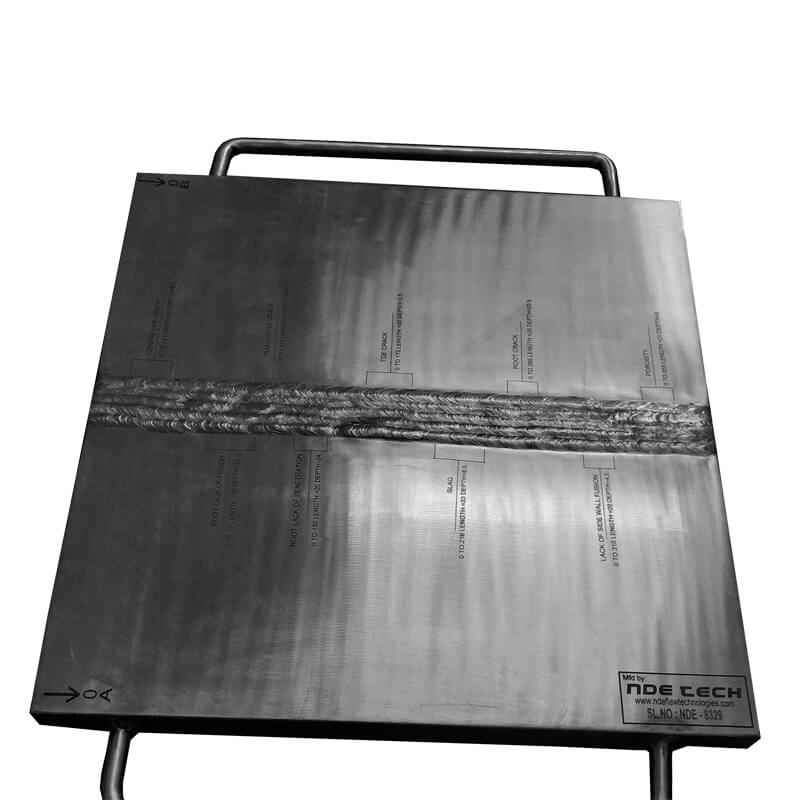
Phased array And TOFD Plate Double V Weld Flaw Specimen Phased Array Ultrasonic Testing And Time-of-flight diffraction Plate to Plate Double V Weld Flawed Specimen Geometry: Plate to Plate Double V Butt Weld 400 mm Long and 200 mm Wide on Either Side of The Weld thickness Range>20mm to 30mm (Carbon Steel) Material: Carbon Steel. Flaws: 3 per specimen, randomly placed Specimen Tolerance: +/- 0.080" Documentation: NDT Verification Reports,C of C, CAD Drawings and Test Sheets. (Customized Calibration Test Block and Flaw Specimen also available. Contact- support@ndetech.org.in)

NdeTech was established in 2012 as NDT based company. Our portfolio spans across industrial services and manufacturing sectors. NdeTech was established as an NDT& NDE Reference Standards and flawed weld specimens manufacturing company, and NDT Training Certification, Recruitment Consultant for Inspection Industries provider to cater to the requirements of various industries in India as well as abroad..
2024 NDETECH All Right Reserved.