No tracking number?

ASTM E2491 Phased Array Assessment Block is a general-purpose Phased Array calibration block used for beam characterization and evaluation of system performance characteristics. Use it as a baseline block to determine long-term instrument performance changes, generate DAC curves and evaluate linear/angular resolution, focusing ability and beam steering capabilities. With a variety of targets, this small, lightweight block is also perfect for customer demonstrations of phased array ultrasonics capabilities.
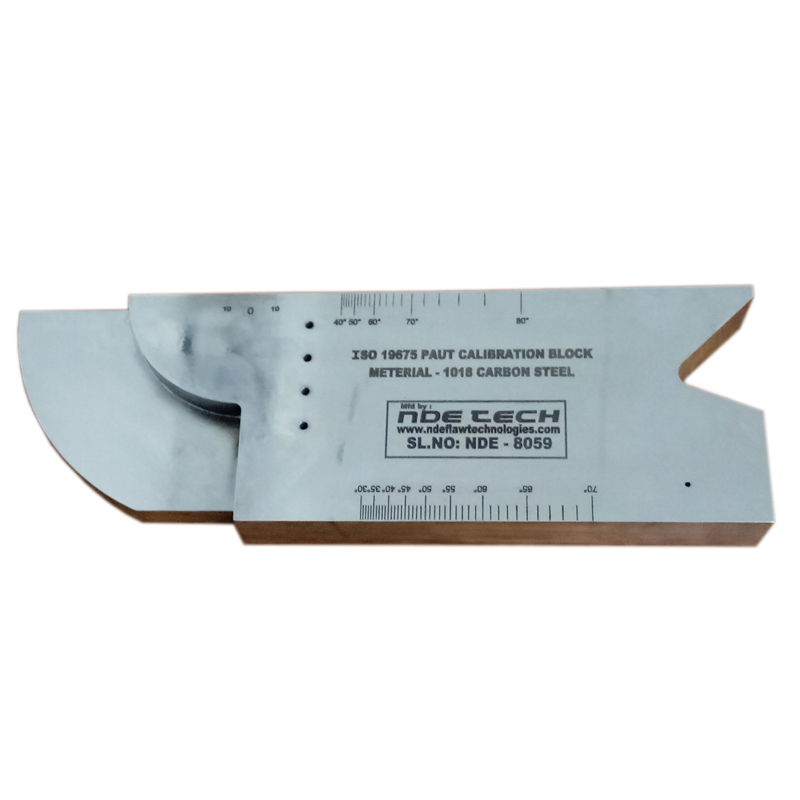
PAUT IIW ISO 19675 Calibration Block The PAUT IIW Block, made in accordance with ISO 19675 was designed by an international committee of NDT experts with the express purpose of creating a globally accepted, standardized block for Phased Array Ultrasonic calibrations. Before the development of this spec, there were no international standards describing a specific block for calibrating PAUT systems.
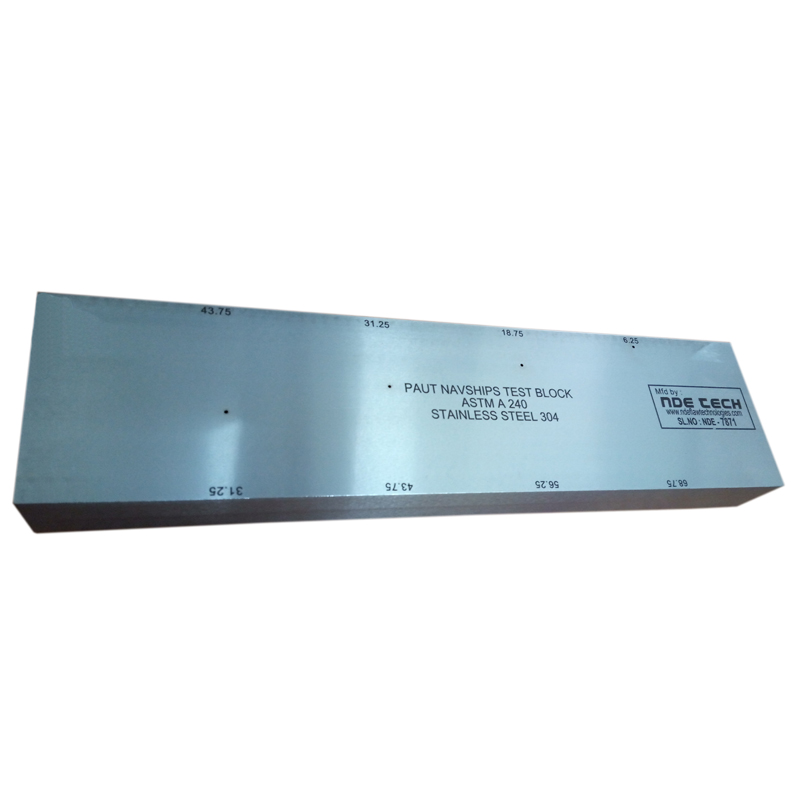
Phased Array Navships Test Block This special Phased Array version of the popular NAVSHIPS block solves the problem of too many holes interfering with one another. Geometry: The block contains four holes at 1.2mm diameter drilled through the 30mm width. The holes are located at 6.25mm (68.75mm), 18.75mm (56.25mm), 31.25mm, and 43.75mm.
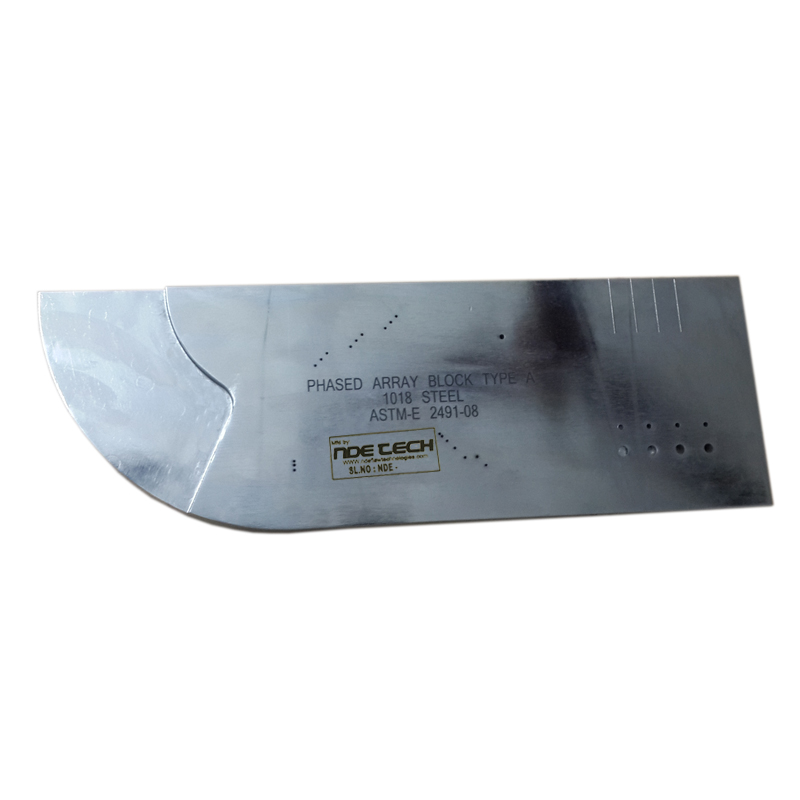
Phased Array Type A Block (IIW-Type) Phased Array "Type A" Calibration Block is used during the initial setup and calibration of a phased array ultrasonic unit. This block can be used to perform tasks such as beam angle verification, calibration for wedge delay, sensitivity calibration, performing DAC/TCG and more. This block has similar dimensions to a IIW-Type Block, but has specially-engineered for phased array applications.
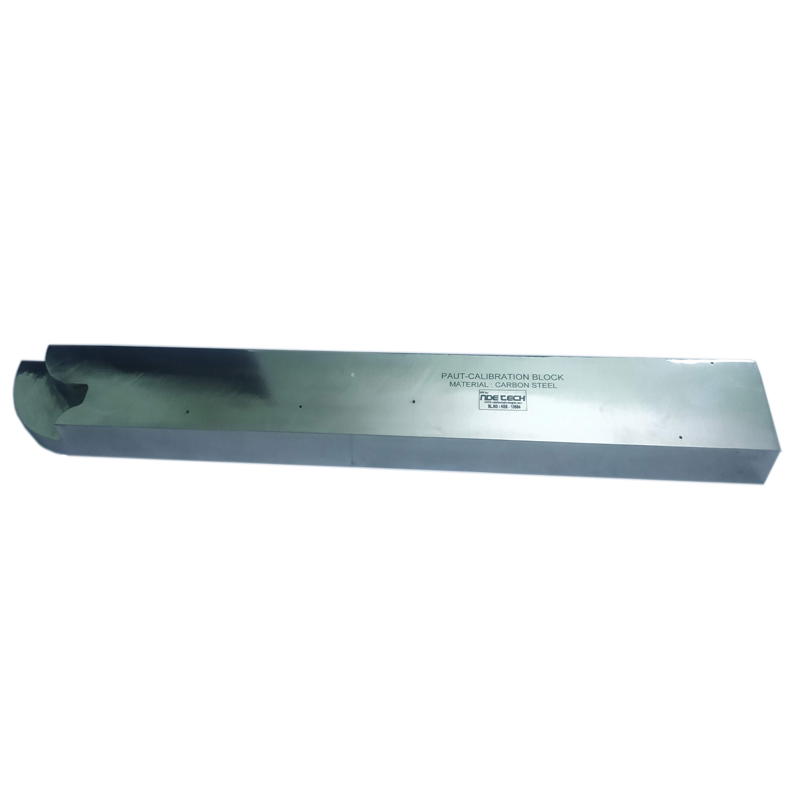
Phased Array Calibration Standard Blocks are used for angle beam verification, probe angle exit points, calibration for wedge delay, sensitivity and DAC/TCG for thicknesses up to 2".

Contoured Boiler Tube Calibration Block (BTB) boiler tube block for calibrating low profile PA probes for use with Bracelet scanner, 3 x 1.5mm dia SDH and contoured for 1.9" OD (1.5" NPS) (other contours available incl. 2" / 2.5" / 3" / 3.5" / 4" NPS). 25 x 20 x 165mm please contact us at +91-9043-660-755 or send an email to support@ndetech.org.in and to know more details about Boiler Tube Calibration Block Our knowledgeable customer service staff is happy to assist you.

Contoured phased array calibration block for calibrating TCG, sensitivity, velocity and wedge delay. Includes 3 x 1.5mm SDH. Contour to be advised by customer. please contact us at +91-9043-660-755 or send an email to support@ndetech.org.in and to know more details about Contoured phased array calibration block Our knowledgeable customer service staff is happy to assist you.
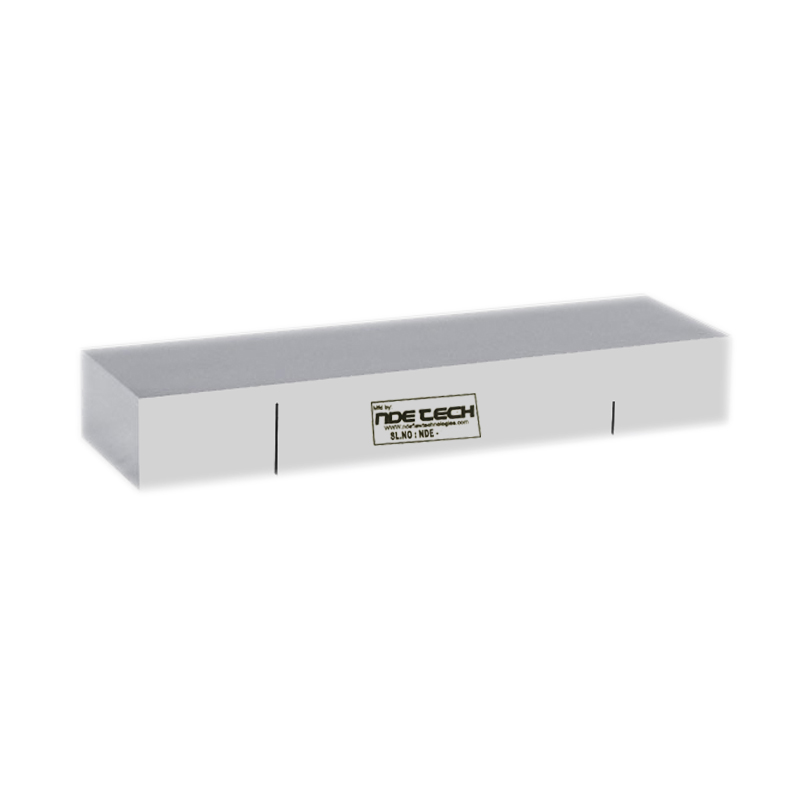
Phased Array Notch Calibration Blocks The PAUT- Standard Notch Calibration Block has been specially designed for use with Phased Array instruments used for sizing of OD and ID-connected cracks. Geometry: The block contains four EDM slots at depths of 20, 40, 60, and 80% and a width of .031". Standard thickness is 1.000".
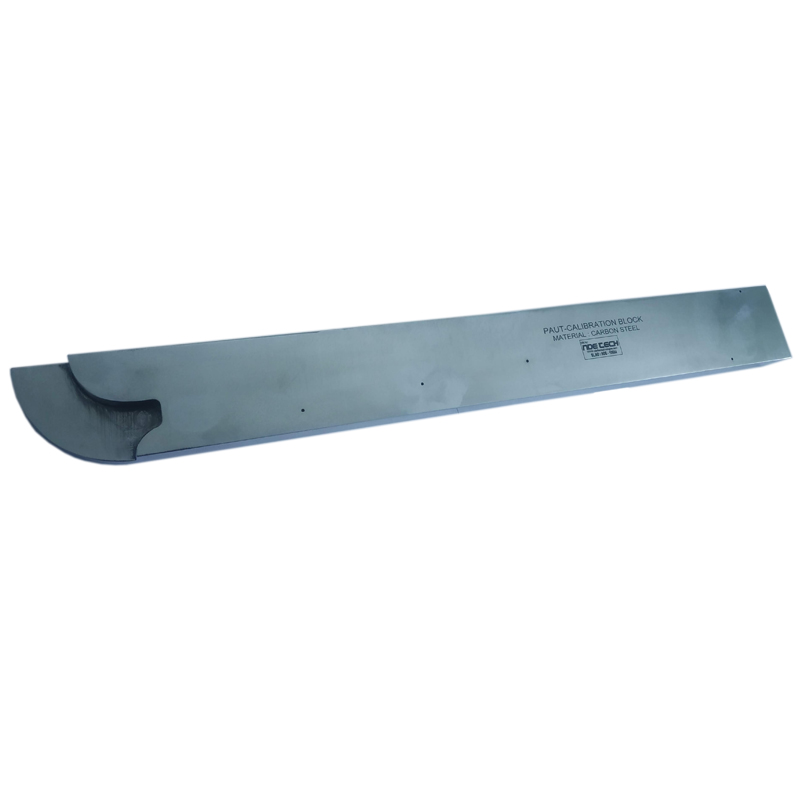
AWS TYPE Phased Array Calibration Blocks Special Version of the Phased Array Calibration Standard with 0.060" diameter Side-drilled Holes for use with AWS requirements. Block is used for angle beam verification, probe angle exit point, calibration for wedge delay, sensitivity, DAC/TCG for thicknesses up to 2".
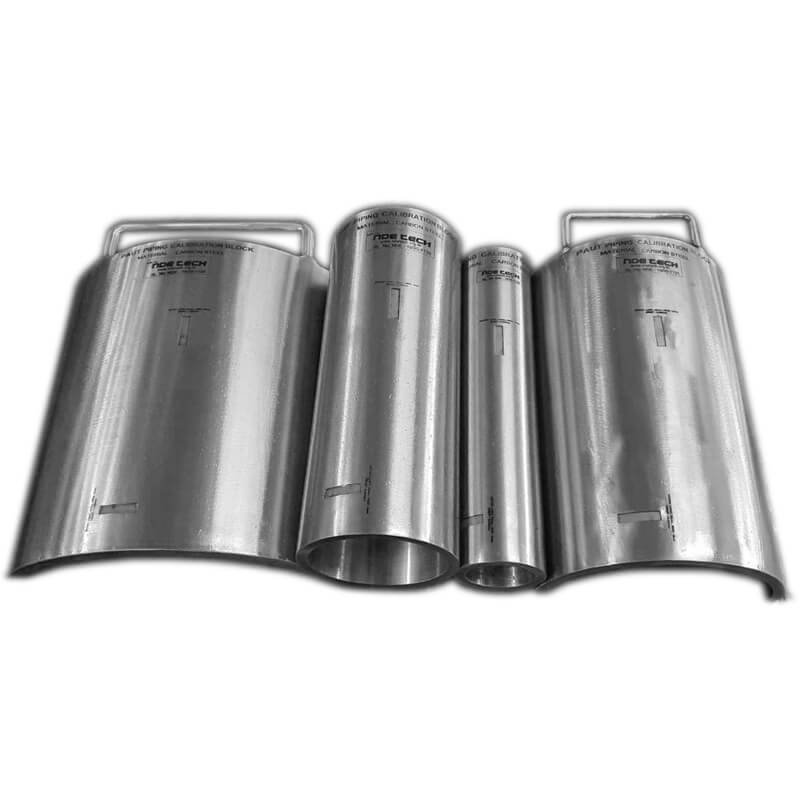
Phased Array ASME Type Piping Calibration Block These pipe calibration blocks are specially designed to facilitate phased array UT (PAUT). The NDE block design includes various modifications to the original ASME design, including extra-axial and arc length, a rearranged notch layout and a 10° angled cut on one end for blocks over 5" NPS. These modifications help to minimize unwanted "noise" from the backwall while performing DAC/TCG calibrations with phased array UT equipment. A calibration block should be a section of pipe of the same nominal size, schedule, heat treatment and material specifications as the material being examined. we maintains a large inventory of raw material for the machining of these standards and they can be made from customer supplied material as well. The Phased Array Pipe Calibration Block contains 4 EDM notches (axial and circumferential on both OD and ID) at a depth of 8-11% of nominal wall thickness x 1/4" maximum width (most notches are approximately .030" - .040" wide) x 1.000" minimum length. Blocks 5" NPS and smaller are left at 360°, while blocks over 5" are milled to a 180°/120°/90°/60° arc section (depending on nominal pipe size). All blocks are 12" in axial length minimum or 10T, whichever is greater. Made in accordance with ASME Section V Article 4 Figure T-43.3, with PAUT modification for PAUT.

NdeTech was established in 2012 as NDT based company. Our portfolio spans across industrial services and manufacturing sectors. NdeTech was established as an NDT& NDE Reference Standards and flawed weld specimens manufacturing company, and NDT Training Certification, Recruitment Consultant for Inspection Industries provider to cater to the requirements of various industries in India as well as abroad..
2024 NDETECH All Right Reserved.