No tracking number?
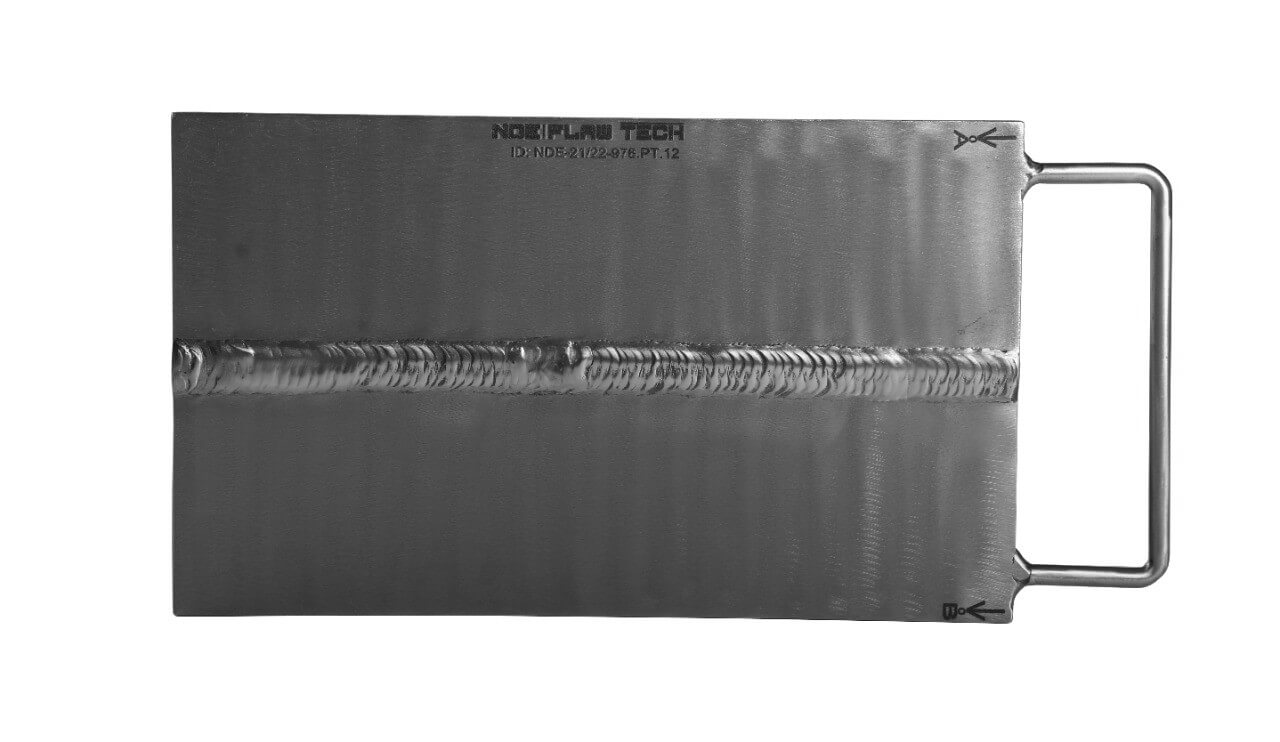
Plate Dye Penetrant Test Practical Exam Flaw Specimen (Inch Version) Carbon Steel Plate Dye Penetrant Test Practical Exam Flaw Specimen Plate Dye Penetrant Test Practical Exam flawed Test specimens. Geometry: 0.25” (T) x 8.0” (W) x 10.0” (L). Flaws: 3, randomly placed Standard Tolerance: +/-4mm. Documentation: NDT Verification Reports, C of C, CAD Drawings and Test Sheets. Material: Carbon Steel. Customized Calibration Test Block and Flaw Specimen also available.
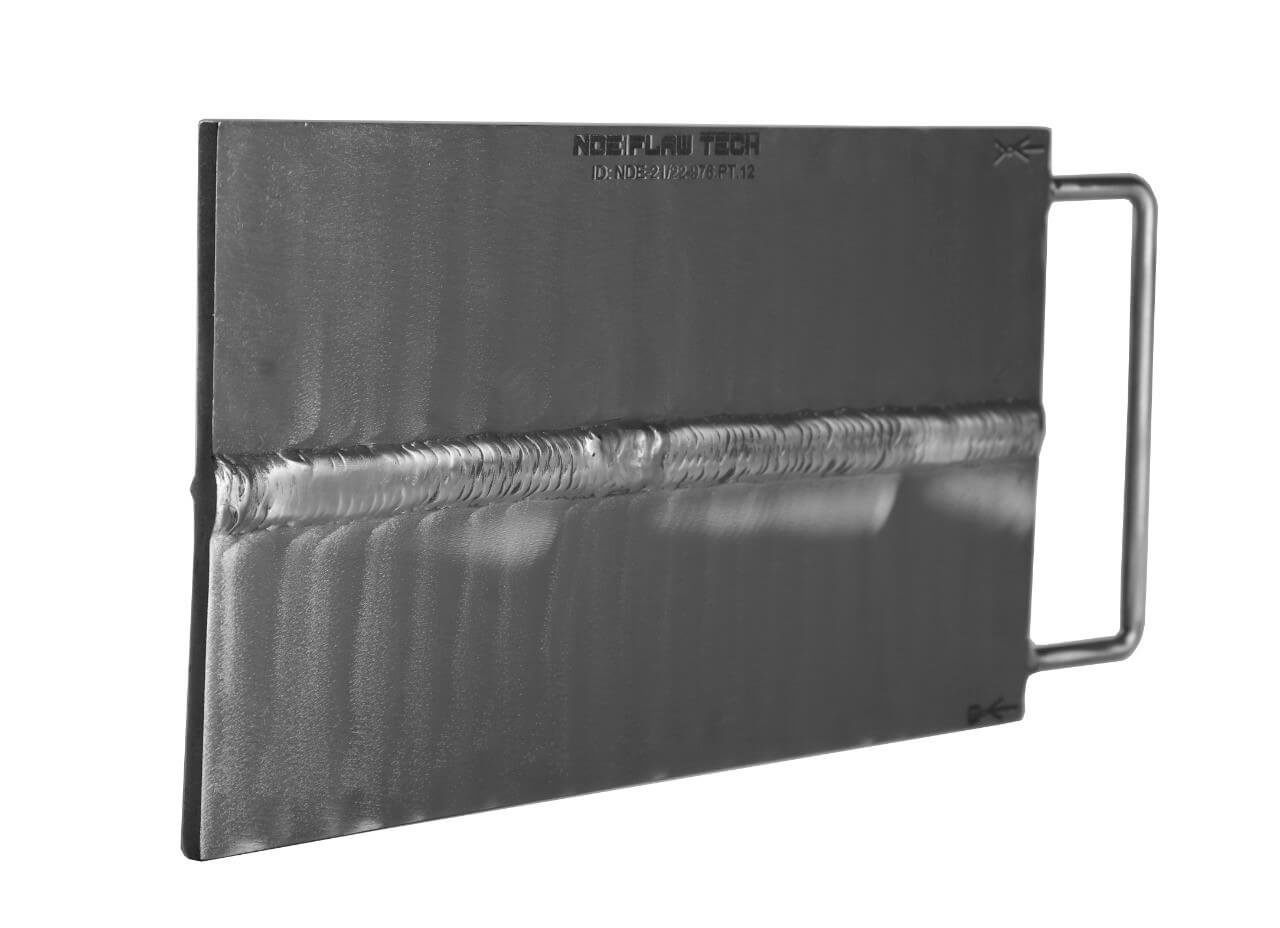
Plate Dye Penetrant Test Practical Exam Flaw Specimen (Metric Version) Carbon Steel Plate Dye Penetrant Test Practical Exam Flaw Specimen Plate Dye Penetrant Test Practical Exam flawed Test specimens. Geometry: 6mm (T) x 200mm (W) x 250mm (L). Flaws: 3, randomly placed Standard Tolerance: +/-4mm. Documentation: NDT Verification Reports, C of C, CAD Drawings and Test Sheets. Material: Carbon Steel. Customized Calibration Test Block and Flaw Specimen also available.
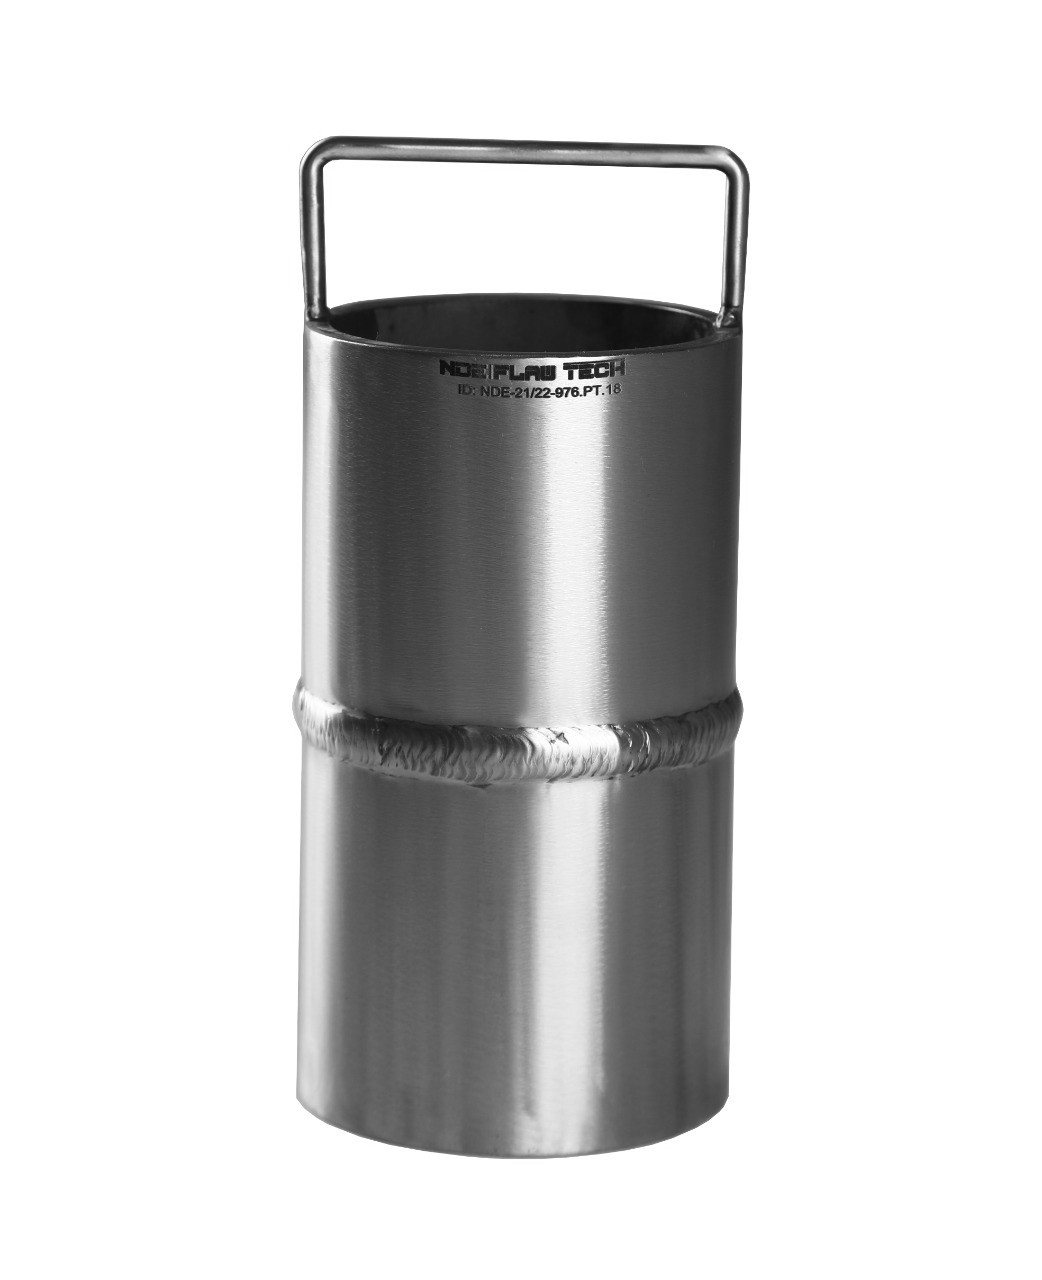
Pipe Dye Penetrant Test Practical Exam Flaw Specimen (Inch Version) Carbon Steel Pipe Dye Penetrant Test Practical Exam Flaw Specimen Pipe Dye Penetrant Test Practical Exam flawed Test specimens. Geometry: 0.25” (T) x Ø4”x 10.0” (L). Flaws: 3, randomly placed Standard Tolerance: +/-4mm. Documentation: NDT Verification Reports, C of C, CAD Drawings and Test Sheets. Material: Carbon Steel. Customized Calibration Test Block and Flaw Specimen also available.
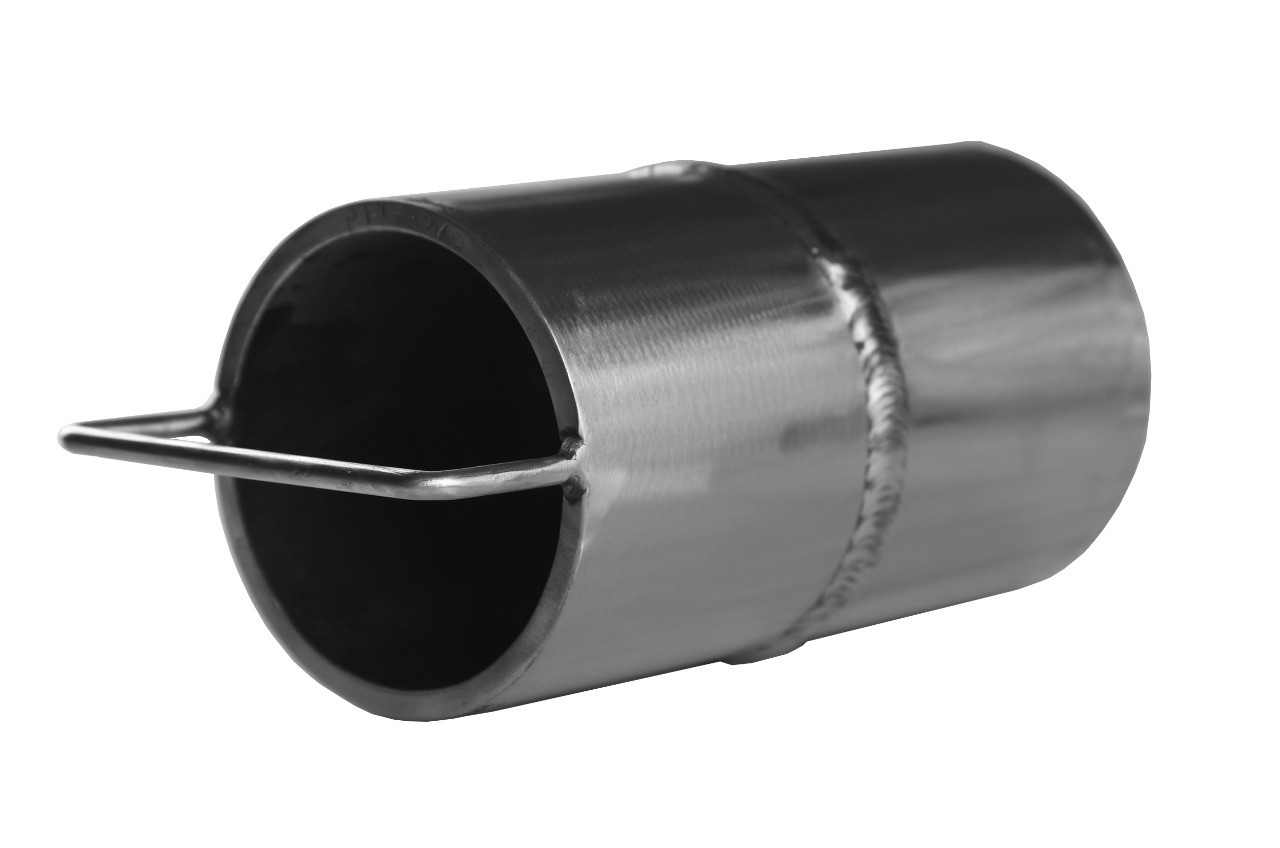
Pipe Dye Penetrant Test Practical Exam Flaw Specimen (Metric Version) Carbon Steel Pipe Dye Penetrant Test Practical Exam Flaw Specimen Pipe Dye Penetrant Test Practical Exam flawed Test specimens. Geometry: 6mm (T) x Ø100mm x 250mm (L). Flaws: 3, randomly placed Standard Tolerance: +/-4mm. Documentation: NDT Verification Reports, C of C, CAD Drawings and Test Sheets. Material: Carbon Steel. Customized Calibration Test Block and Flaw Specimen also available.
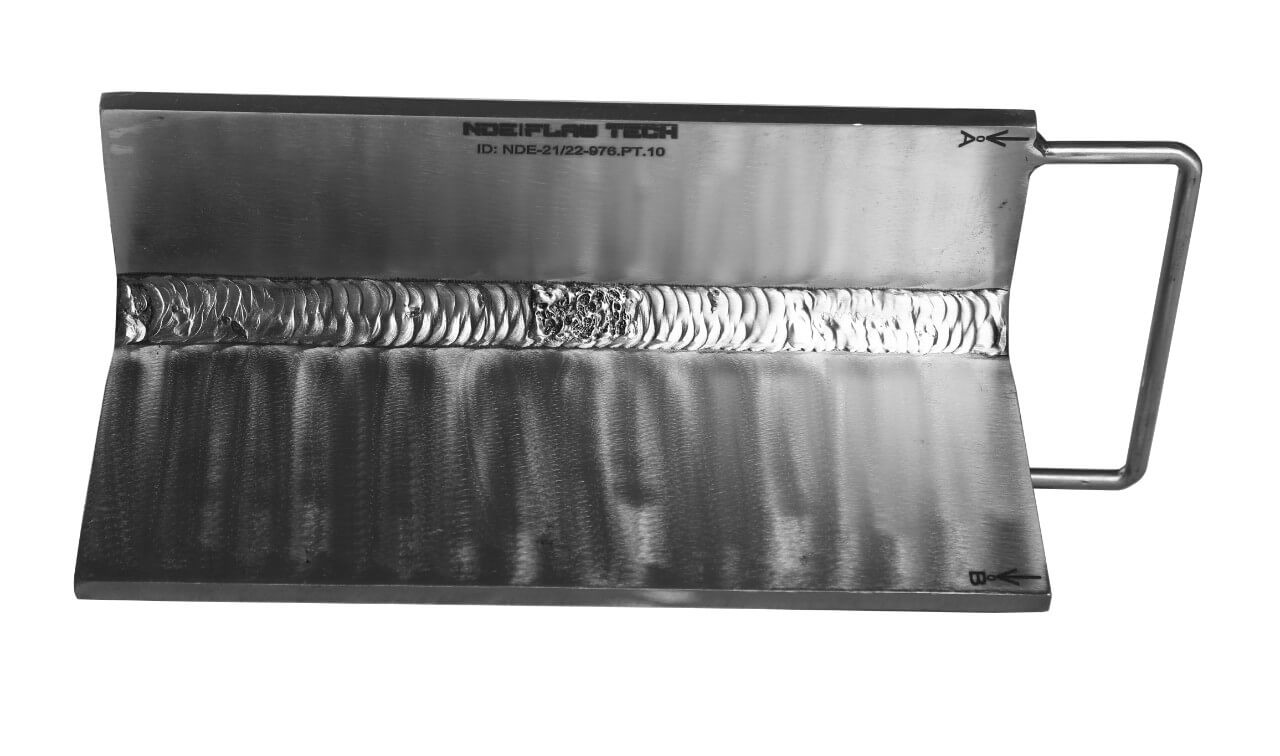
T-Plate Dye Penetrant Test Practical Exam Flaw Specimen (Inch Version) Carbon Steel T-Plate Dye Penetrant Test Practical Exam Flaw Specimen T-Plate Dye Penetrant Test Practical Exam flawed Test specimens. Geometry: 0.25” (T) x 4” (W) x 10.0” (L) x 4” (H). Flaws: 3, randomly placed Standard Tolerance: +/-4mm. Documentation: NDT Verification Reports, C of C, CAD Drawings and Test Sheets. Material: Carbon Steel. Customized Calibration Test Block and Flaw Specimen also available.
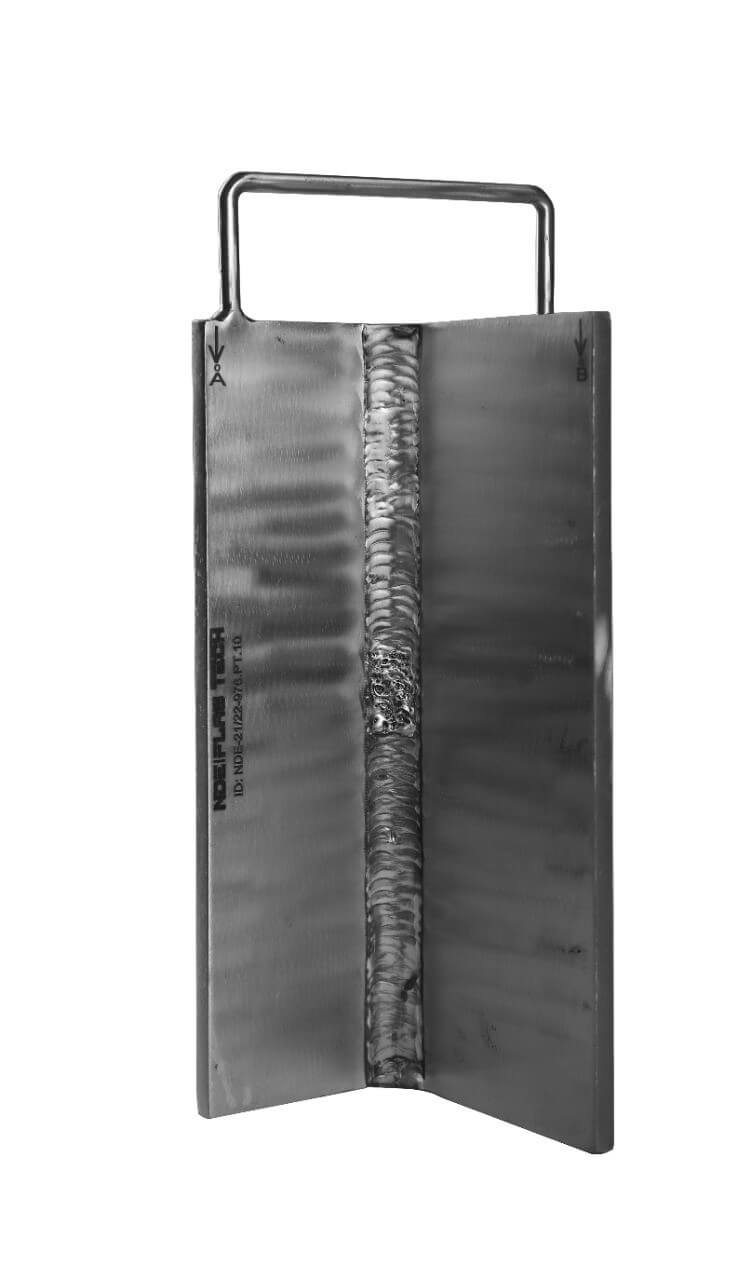
T-Plate Dye Penetrant Test Practical Exam Flaw Specimen (Metric Version) Carbon Steel T-Plate Dye Penetrant Test Practical Exam Flaw Specimen T-Plate Dye Penetrant Test Practical Exam flawed Test specimens. Geometry: 6mm (T) x 100mm (W) x 250mm (L) x 100mm (H). Flaws: 3, randomly placed Standard Tolerance: +/-4mm. Documentation: NDT Verification Reports, C of C, CAD Drawings and Test Sheets. Material: Carbon Steel. Customized Calibration Test Block and Flaw Specimen also available.

Plate Dye Penetrant Test Practical Exam Flaw Specimen 6mm (Metric Version) CS Plate Dye Penetrant Test Practical Exam Flaw Specimen Plate Dye Penetrant Test Practical Exam flawed Test specimens. Geometry: 6mm (T) x 300mm (W) x 300mm (L). Flaws: 3, randomly placed Standard Tolerance: +/-4mm. Documentation: NDT Verification Reports, C of C, CAD Drawings and Test Sheets. Material: Carbon Steel. Customized Calibration Test Block and Flaw Specimen also available.

Plate Dye Penetrant Test Practical Exam Flaw Specimen 10mm (Metric Version) Carbon Steel Plate Dye Penetrant Test Practical Exam Flaw Specimen Plate Dye Penetrant Test Practical Exam flawed Test specimens. Geometry: 10mm (T) x 300mm (W) x 300mm (L). Flaws: 3, randomly placed Standard Tolerance: +/-4mm. Documentation: NDT Verification Reports, C of C, CAD Drawings and Test Sheets. Material: Carbon Steel. Customized Calibration Test Block and Flaw Specimen also available.

Plate Dye Penetrant Test Practical Exam Flaw Specimen (Metric Version) 12.7mm Carbon Steel Plate Dye Penetrant Test Practical Exam Flaw Specimen Plate Dye Penetrant Test Practical Exam flawed Test specimens. Geometry: 12.7mm (T) x 300mm (W) x 300mm (L). Flaws: 3, randomly placed Standard Tolerance: +/-4mm. Documentation: NDT Verification Reports, C of C, CAD Drawings and Test Sheets. Material: Carbon Steel. Customized Calibration Test Block and Flaw Specimen also available.

Pipe Dye Penetrant Test Practical Exam Flaw Specimen Ø300mm (Metric Version) Carbon Steel Pipe Dye Penetrant Test Practical Exam Flaw Specimen Pipe Dye Penetrant Test Practical Exam flawed Test specimens. Geometry: Sch40 (10.31mm) (T) x Ø300mm x 300mm (L). Flaws: 3, randomly placed Standard Tolerance: +/-4mm. Documentation: NDT Verification Reports, C of C, CAD Drawings and Test Sheets. Material: Carbon Steel. Customized Calibration Test Block and Flaw Specimen also available.
2020 NDETECH All Right Reserved.